
How to build a gaming PC in 2023
 Dexerto
 Are you planning to build a gaming PC in 2023 and want to know how? Don’t worry. You’re at the right place as we’ve listed everything, from the case to the components and more that you’ll need for your gaming rig.
We all dream of a powerful gaming PC that can run most AAA titles and let you enjoy the best VR games without breaking a sweat. But let’s face it; these flashy, pre-built gaming monsters are expensive. So, if you’ve got the guts, patience, and thirst for some techy DIY, building your own gaming PC could be your ticket to serious savings and top-tier performance.
Be warned though, building your gaming PC is more than just buying and sticking a few components together. You’ve got to be savvy, sourcing the latest and greatest in CPUs, SSDs, RAM, GPUs, keyboards, and more. Moreover, you’ll also need to ensure all these components you pick are compatible.
If you know the chipset industry, 2023 is an ideal time to take on this tech challenge. With Intel’s powerful 13th Gen CPUs offering stellar performance and RAM prices dropping to all-time lows, you can’t go wrong.
Before diving in, though, you must carefully plan your moves. What kind of beast do you want to build? Are you aiming to balance performance with a budget, or is uncompromised 4K gaming your ultimate goal? Depending on what you want, you might need to level up your cooler, GPU, and other components accordingly.
Once you’ve sorted your budget and priorities, you’re ready to start building your gaming PC.
Step 1: Choose a case
 Dexerto
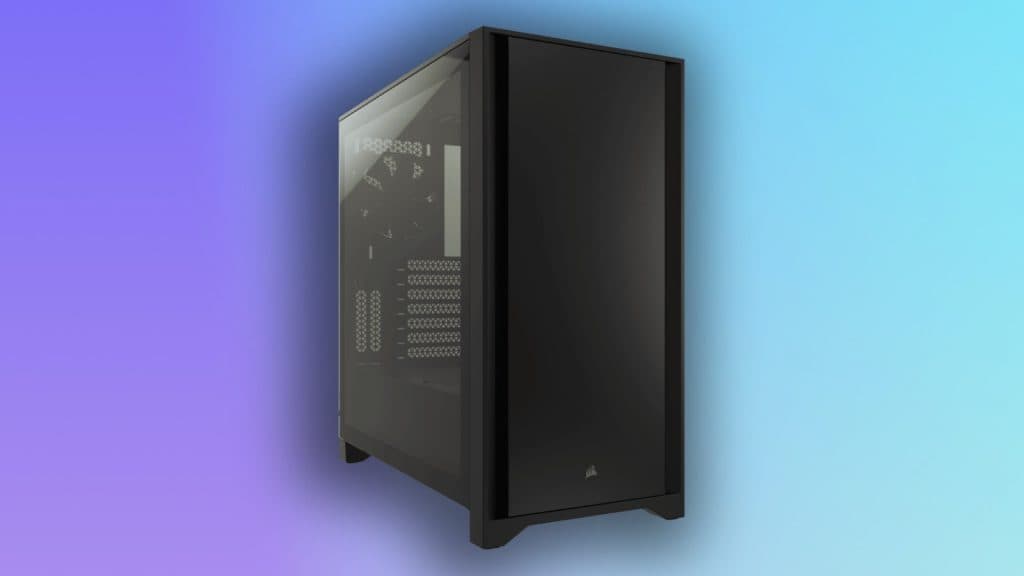
 Ahead of picking out anything else, choose a case for your system. This will dictate the size of your PC and will determine motherboard size, cooler compatibility, and airflow within your system. The most popular form factor is a mid-tower case such as the Lian Li Lancool II Mesh. Some cases have premium features that you might want, such as Cooler Master’s HAF 700 EVO, but these can cost a bomb.
If you wanted to build a compact, small gaming PC. You should expect to pay a bit more for your motherboard, and you might have to get creative with your component choice. Choosing a form factor is an essential step in how to build a gaming PC. So, be sure to pick wisely.
Once you’ve chosen your case, you can then move on to choosing components.
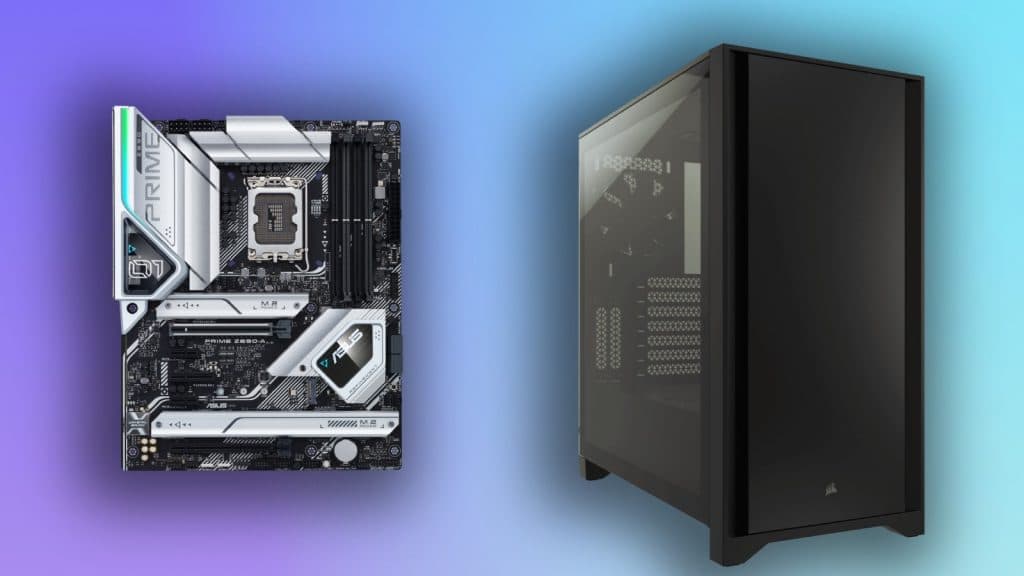
Step 2: Pick your components
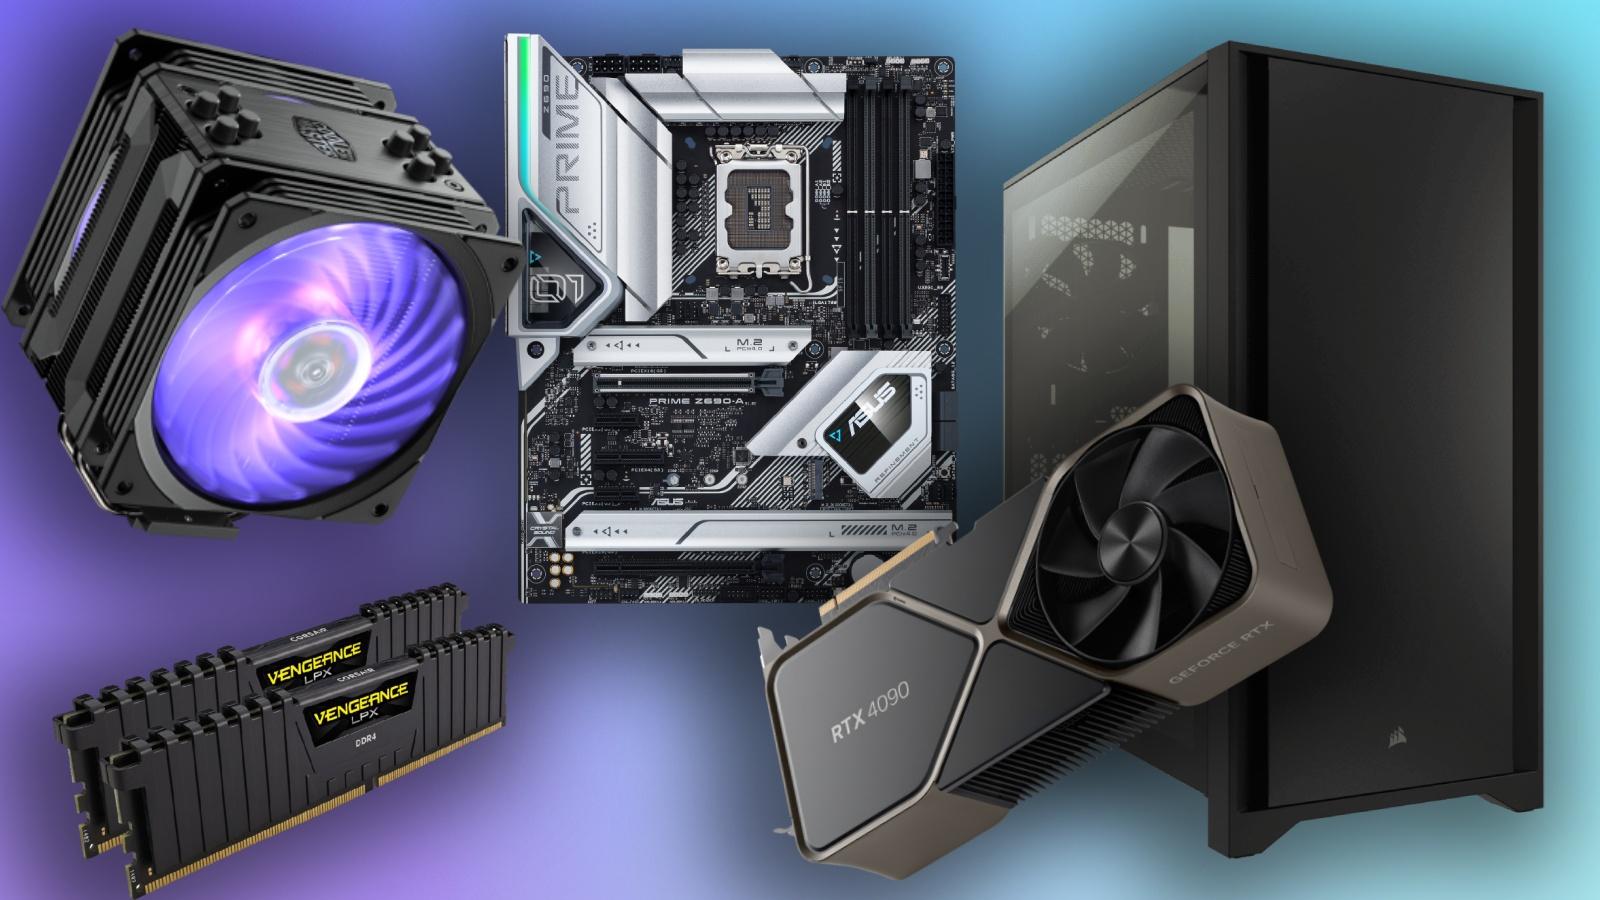
Picking components can be really troublesome. If you are picking an Intel or AMD CPU, make sure that you are picking the right motherboard to go alongside it. Remember, choosing an RTX 4090 for your PC will mean very little if your CPU and Power Supply are not up to the task of running it.
Make a checklist of the following components:
- CPU
- GPU
- Motherboard
- RAM
- Storage
- PSU
- CPU cooler
The main areas that will determine performance will be your CPU and GPU. While your motherboard sits as the beating heart, making sure that everything is working correctly. Some motherboards can offer premium features like more memory slots, or fancy USB-C headers, so be sure to choose wisely.
You should also look to pick up a PSU (Power Supply) that is able to run everything that you throw at it. Make sure you pick up a reputable brand’s PSU, as skimping out on this component can really throw you under the bus, and cause other parts to fail if it is not up to the task.
Suggested build: a value $1000 gaming PC
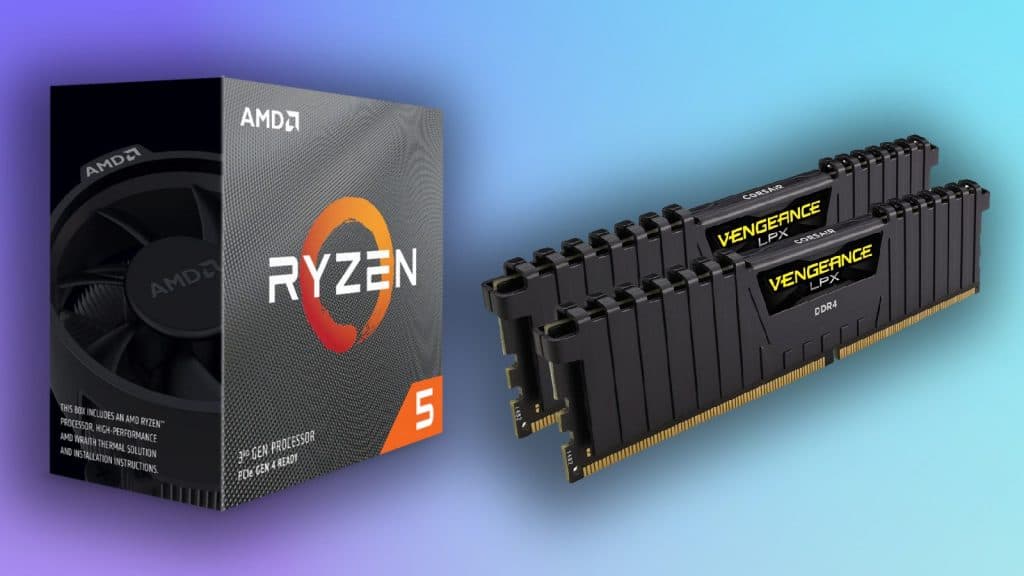
We’ve picked out a couple of parts ourselves, which should help you make your gaming PC for around $1000. It includes Intel’s 13th-gen CPUs, and an AMD RX 6700, which will make for a pretty powerful system.
- CPU: Intel Core i5-13600K
- GPU: AMD Radeon RX 6700 XT
- Motherboard: Gigabyte B660M DS3H*
- RAM: Corsair LPX 16GB DDR4-3200
- Storage: Sabrent Rocket 4.0 1TB NVMe SSD
- PSU: Thermaltake Toughpower GF1 650W Gold PSU
- CPU cooler: Deepcool AK400
- Case: Corsair 4000D Airflow
* B660 boards may require you to flash the BIOS in order for Intel 13th Gen CPUs to work. Some retailers offer this service at the point of purchase. You can also select a smaller MicroATX case with this motherboard, too.
Step 3: Prepare your build
 Dexerto
 If you want to make sure that your build is going to go smoothly, we recommend that you prepare a small area for your parts and tools. Make sure you have a good screwdriver to hand, as you’ll need to make use of it during the build process.
You will also want to create a bootable OS image on a USB stick. You can grab one for Windows here. BE sure to select Windows 11 Installation Media.
Then, ensure that all of your parts arrive safely. Once it’s all arrived, and you have a small build area prepped, you can begin your gaming PC build in earnest.
Step 4: Installing the CPU
Firstly, take your motherboard out of its box, and place it upon the static sheet that arrives with it. Then, pop the motherboard and the static bag on top of the box. Now, we’ll want to begin prepping the motherboard.
The first thing that you’ll want to do is to place the CPU into the motherboard. Modern motherboards use an LGA system, which is a small lever that releases the latch so the CPU can be put into place. Pull it gently away from the socket to unlatch it. Once it’s been unlatched, take your CPU out of the box.
What you are looking for here is a small chip with gold contacts underneath. Hold the CPU by its edges, so as to not disturb the gold contacts. CPUs are very fragile. Then, you should see an arrow on your CPU, line this up with the socket on the motherboard, and gently place it into the socket.
Once it’s in, you can once again lower the retention layer, this can require some force, but you’re not doing anything wrong as long as it’s all lined up correctly.
Step 5: Installing your RAM
 Dexerto
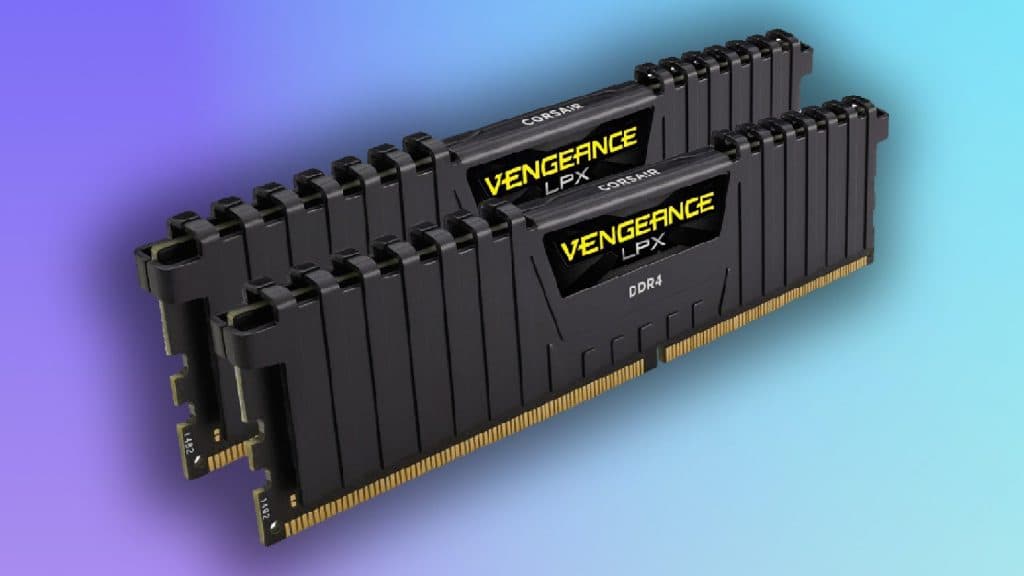
 To slot in your RAM, you first need to identify the RAM slot on your motherboard, this is a long strip, with latches on either end. Using your motherboard manual, identify the primary slots. If you are installing more than one stick of RAM, make sure you choose the right slots for it to run in a slightly speedier dual-channel mode. This is usually inferred by a “A2 and B2” designation. Then, make sure that the slots are unlatched.
Now, unbox your RAM, and identify where the small notch lies on your RAM stick and motherboard. Then, it’s as simple as applying some pressure until you hear a small click. This will signify that the RAM is placed correctly. Make sure to double-check that both ends are correctly seated on each stick of RAM you are installing. Once they are all slotted in, you can move to the next step.
Step 6: Installing an M.2 NVMe SSD
Most modern systems now use an M.2 NVMe SSD drive, which looks like a little stick of gum. There should be a port on your motherboard to install this. Once you identify it, make sure you have one of those smaller screws that you might have included in the box for your motherboard. Then slot the M.2 NVMe SSD into your system. It should prop itself up at an angle, if done right. Then, gently press down until it aligns with the screw-hole on your motherboard, and safely screw it into place.
Step 7: Install your CPU cooler (Air)
 Dexerto
 Now, if you have picked an Air cooler for your system, this is the best place to install it. If you are using an aftermarket cooler. Make sure you follow the instructions provided to install it into your system. If you are using an AIO water cooler, you should wait until a little bit later to do this step. Don’t forget your thermal paste. Be sure to hook up your fans while doing this, too.
We recommend that you use a blob sized to a grain of rice in the middle of the CPU for good coverage.
Subscribe to our newsletter for the latest updates on Esports, Gaming and more.
Step 8: Place your motherboard into the case
Now that your motherboard is all prepared, you want to unbox your case and lay it flat. If your motherboard has a detached IO shield, then you’ll want to place this now. If not, you can safely ignore it for now.
Many cases come with preinstalled standoffs. However, if your chosen case does not have these, place them aligned to the holes. Then, align the standoffs with your motherboard. Once fully aligned, begin to screw the motherboard into the standoffs. This should align with the holes on your motherboard, too. BE sure to screw in opposite ends first, to securely align the motherboard in place. Continue this until you have securely fastened the motherboard to your case.
Then, you will want to hook up your front IO cables, this might require a USB header or two, in addition to small front-panel pins. Consult your motherboard’s manual to understand where this is, and what pins need to be where.
Step 9: Prepare your Power Supply
 Dexerto
 Next, you should unbox your power supply. If you have a modular power supply, you want to ensure you have the motherboard, CPU, and GPU cables attached. Then, place the Power supply into your system. Now, carefully route the cables into their intended positions. Your 24-pin motherboard cable should be placed around the right of the motherboard, the CPU connectors on the top left, and the GPU cable routed to the underside.
Then, connect the PSU cables for your motherboard and CPU to your system.
Step 10: Install your CPU cooler (AIO)
If you have an all-in-one water cooler for your CPU, this is the time you should install it. Firstly, we’d recommend installing the fans and radiator into your case. This can be in several positions. Then carefully follow your AIO’s manual to understand how the fans align with the AIO in your case.
Then, you’ll want to place any brackets onto your motherboard. Then, use some thermal paste on top of your CPU. We recommend a blob the size of a grain of rice. Then, plop the AIO onto your CPU and securely fasten it.
You’ll want to take some time here to ensure that all cables required are plugged into your motherboard, this might include fan headers, USB headers, or SATA power. If you require SATA power, just attach a SATA cable to your PSU and hook it all up. If you’re unsure of where to place or identify any motherboard headers, consult the manual.
Step 11: Install your GPU
 Dexerto
 To install your GPU, make sure there are no obstructions on your case. This might include some brackets on the back that need to be removed. Depending on the size of your graphics card, this can be anywhere between two to four slots.
Then, align the PCIe connector on your GPU with the notches on your motherboard. Push it in until you hear a satisfying click. If it’s not working, make sure you are level to the socket.
Once the GPU has clicked into place, you want to screw in the bracket for the slots. It’s worth pushing your GPU up slightly while fastening these, as you can attain minimal GPU sag for doing so.
Once it’s all screwed into place, hook up the PSU cables we routed earlier and plug them into your GPU. If you have a GPU that uses Nvidia’s new 12VHPWR connector, ensure that you leave around 3.5mm of space before bending it.
Step 12: Install any extra fans or accessories
If you want to install extra fans, this is your chance, look for the header on your PC in order to hook them all up. If you have ARGB headers, make sure you use the correct header, as plugging it into the wrong one could cause your RGB goodness to short out.
Step 13: Test boot
Hook up the power cable, and switch your PSU on, next, hook your GPU display ports up to your monitor. Then, press the power button. If you have done this correctly, then your PC should spring to life, and you’ll be greeted with a BIOS screen. If you’ve reached this point, you can now install an OS such as Windows if you hook up a keyboard.
If it’s not turned on, retrace your steps to the motherboard pinouts for the power button. If it runs, but you are not posting, you may need to look into a hardware issue. Some motherboards have blinking LEDs or codes which indicate what is going wrong. Failing that. Retrace and redo all of your steps. If it still doesn’t work, then you may be facing a power issue.
Step 14: Install Windows & drivers
Next, using your bootable Windows drive, install the OS. It’s pretty self-explanatory. Then, once you are in Windows, ensure that you install any software related to your GPU driver. Then any fan control or RGB software will also come in handy, depending on what you have purchased.
Step 15: Enjoy
Well done, you’ve just made a gaming PC. Now, you can load up your PC with all the gaming goodies that you want. A gaming PC is upgradable, so if you’re ever in need of more storage, you should be able to add more. This also applies to installing new graphics cards, or any other element of the system. Since you’ve done it yourself, you have the added benefit of being able to understand what makes your PC tick, too.
Hopefully, using this guide, you’ve taught yourself how to build a gaming PC.
How much does a gaming PC cost?
You can build a gaming PC from anywhere from around $600. We wouldn’t recommend building one under that point. If you are strapped for cash, a Steam Deck might be your best budget alternative.
Once you’ve decided what you are going to use your PC for, you can begin to plan out a rough budget. By our estimations, building a capable gaming PC that can push a 1440p framerate will cost around $1000.
Also, make sure to check out our other guides:
How to clean mouse pad | How to set up dual monitors on Windows 10 & 11 | How to turn on Bluetooth on Windows | How to check your graphics card | How to record your screen on Windows & Mac | How to check your PC specs | How to fix monitor not detected on PC | How to connect phone to TV
If you click on a product link on this page we may earn a small affiliate commission.